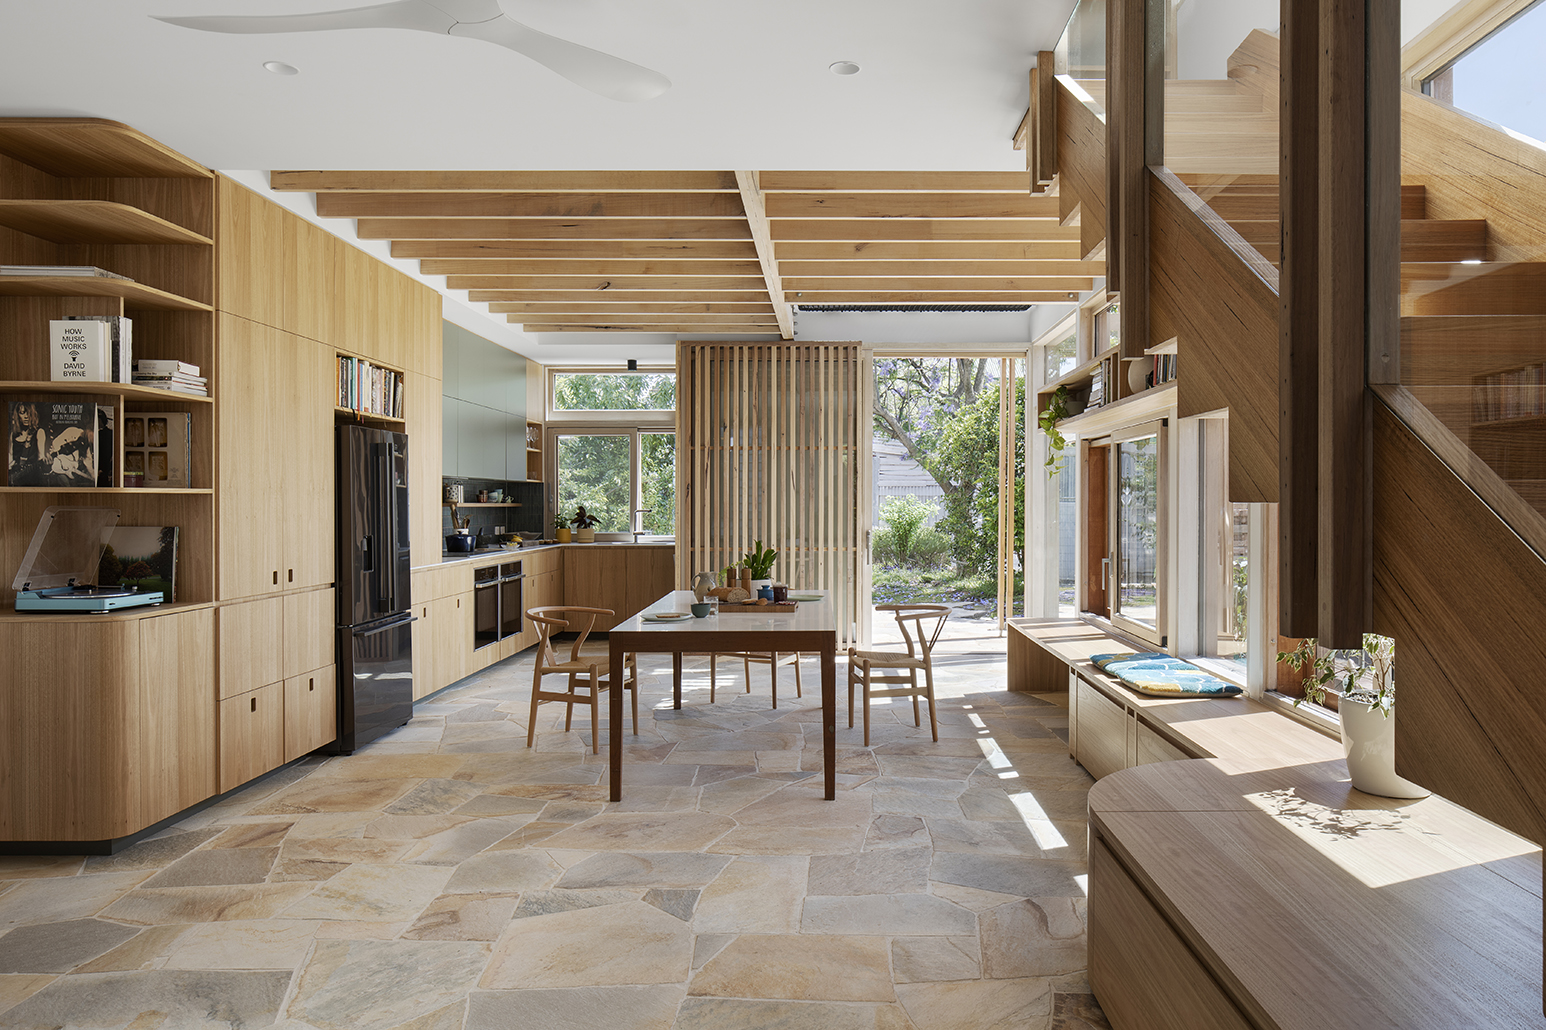
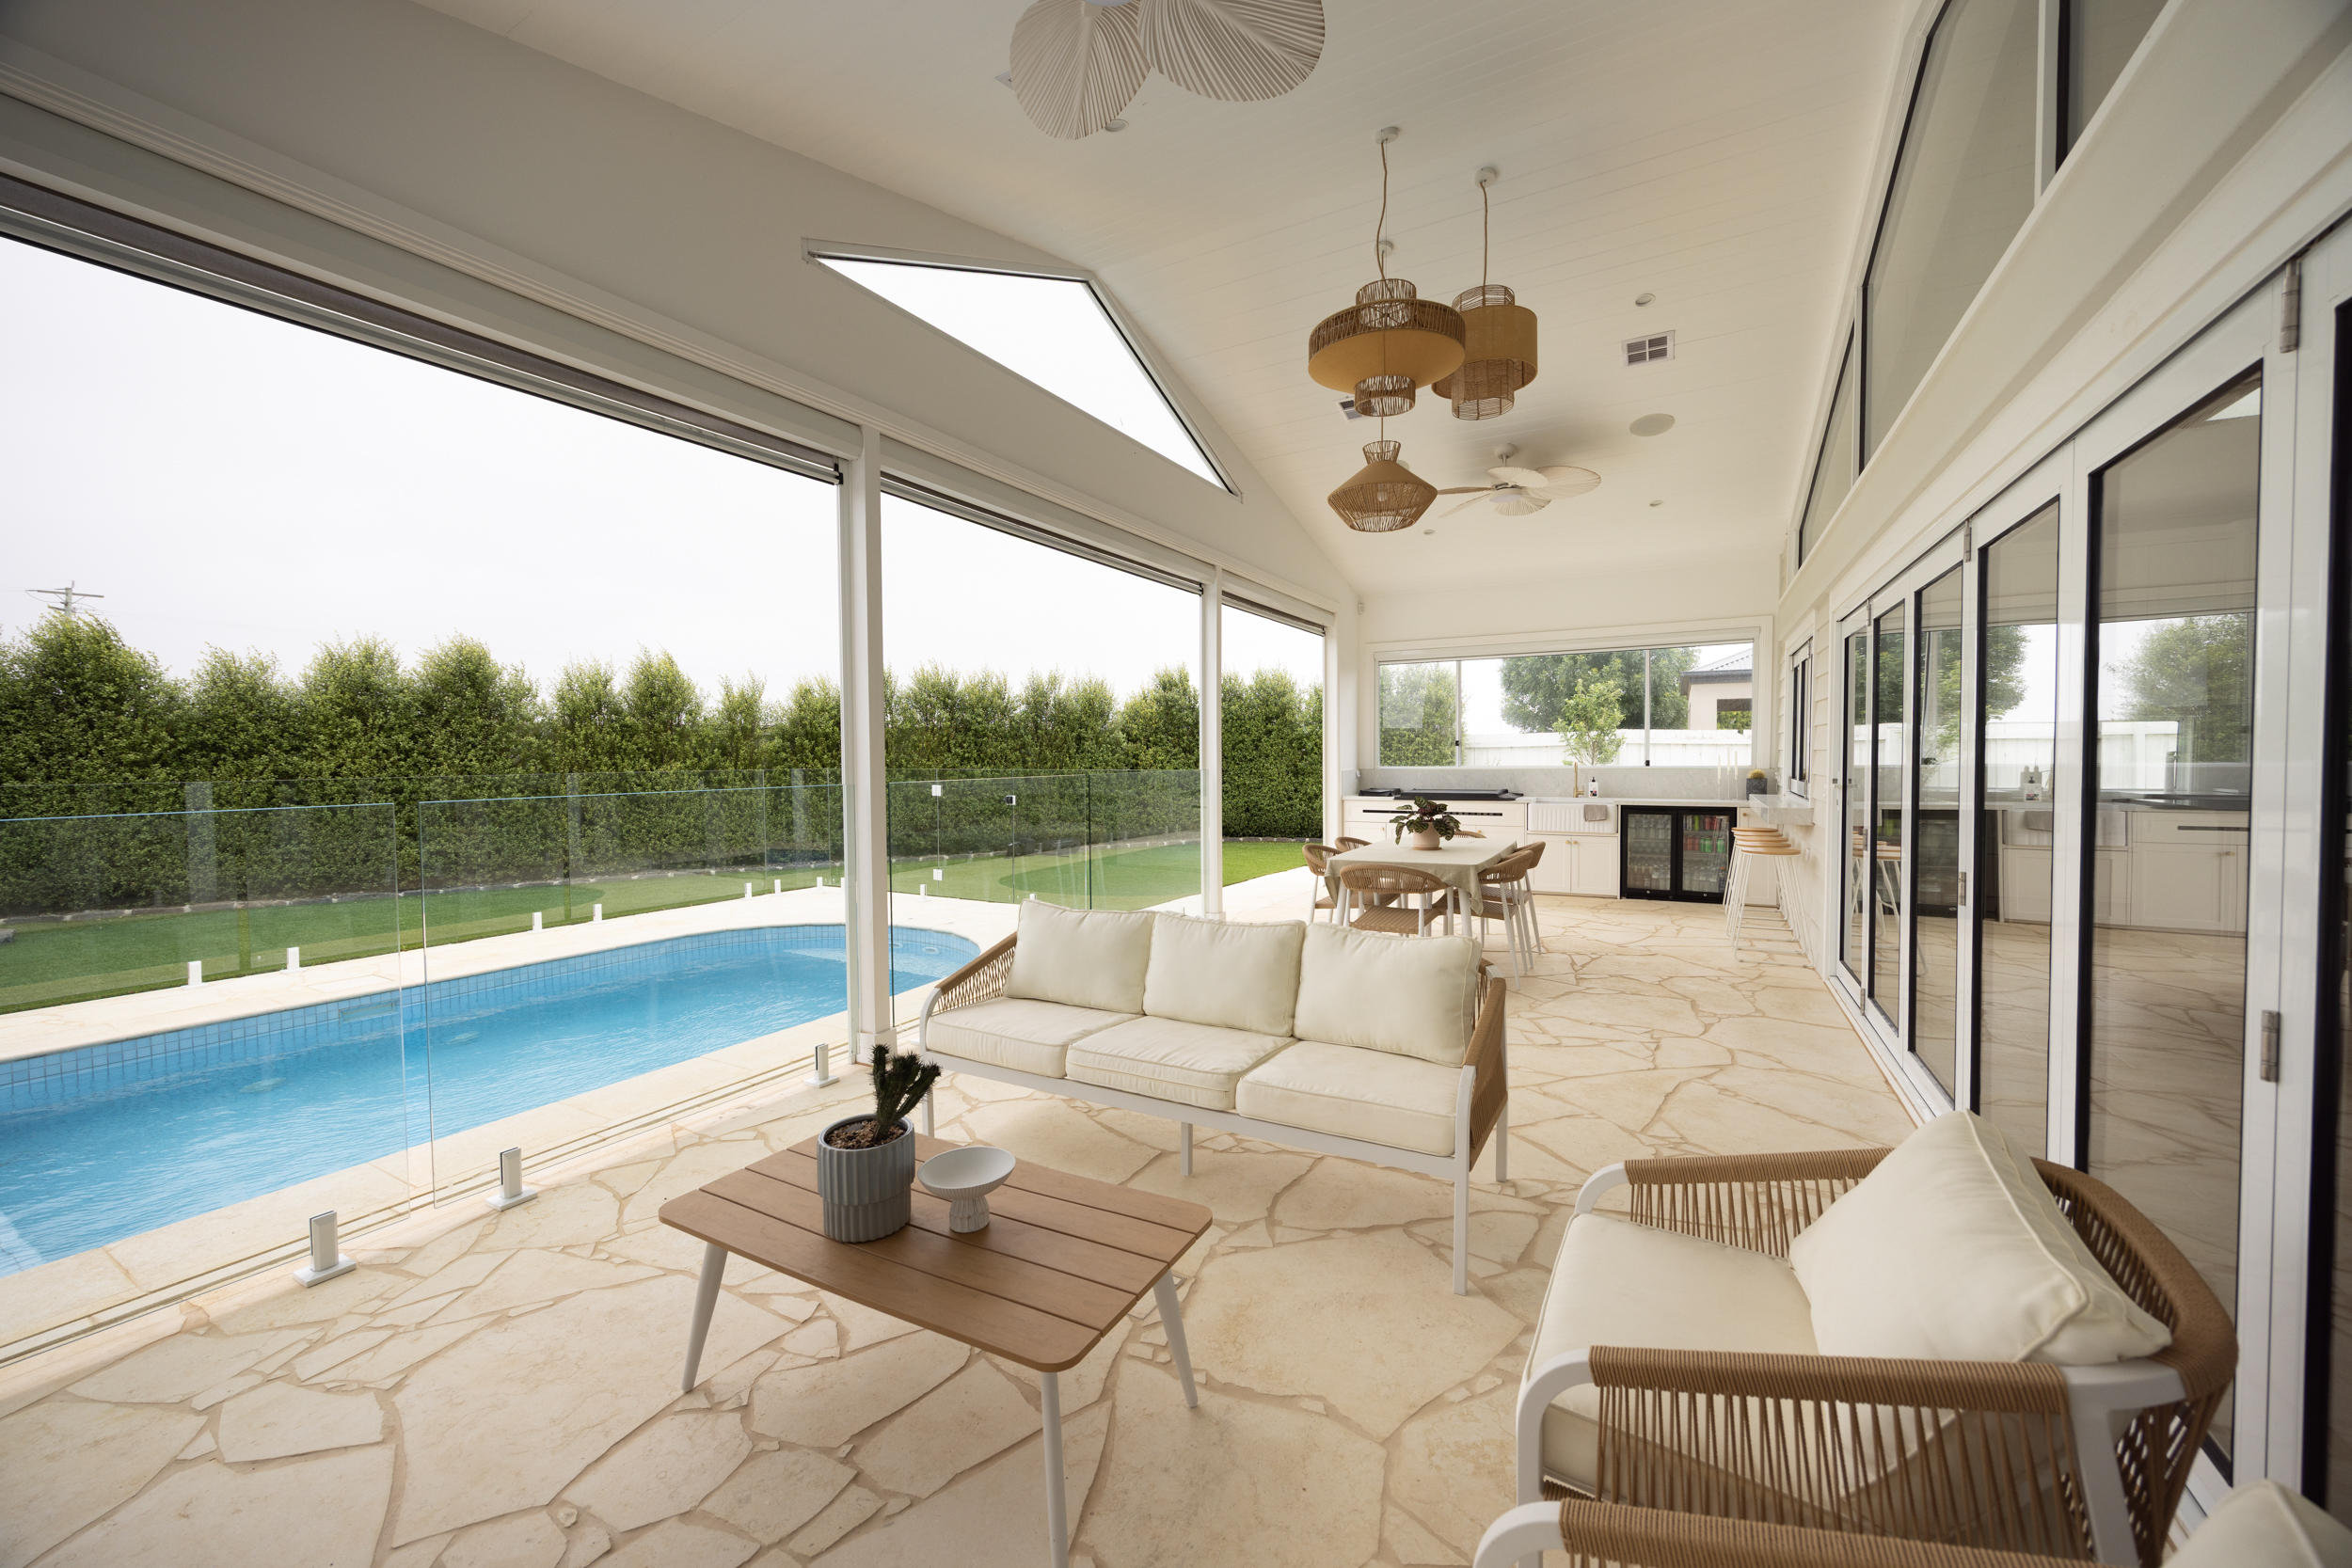
Crazy paving is a timeless choice for Aussie backyards and for good reason. Its irregular, freeform natural stone gives patios, alfrescos, garden paths, pool areas, and fire pits a relaxed, effortless vibe that looks like it was always meant to be.
At RMS Traders, we provide high-quality natural stone to make creating your own crazy paving simple. Most customers opt for our ready-to-lay crazy paving pavers, which are pre-cut and designed to make installation easier and more efficient. Alternatively, if you’re after a more hands-on approach, you can purchase full slabs and break them yourself to create a truly custom look.
Unlike neat, uniform pavers, crazy paving allows you to fit uniquely shaped stones together like a fun outdoor jigsaw puzzle. The result is a one-of-a-kind surface that complements everything from coastal hideaways to bush-style homes.
We offer a wide range of stones suitable for crazy paving projects, which you can explore in our Crazy Paving category. If you’d like to learn more about crazy paving, we recommend reading Everything You Need to Know About Crazy Paving first, as this guide assumes you’re already familiar with the basics.
Thinking about trying it yourself?
With the right preparation, quality materials, and a little patience, you can transform your outdoor area into a stunning space, whether you tackle it solo or bring a friend for the heavy lifting. While we always recommend enlisting the help of a professional, if you have a small project or prefer to do it yourself, this guide is here to help.
Materials You’ll Need for Natural Stone Crazy Paving
Creating your own natural stone paving requires the right materials for durability, drainage, and a polished finish. Here’s what you’ll need:
Natural Stone Slabs
Choose from bluestone, sandstone, granite, quartz, slate, limestone, or travertine to create your unique crazy paving design. Each stone type offers a different look, texture, and longevity.
Explore RMS Traders’ full range of crazy paving options here!
Gravel or Crushed Rock
A high-drainage base layer of gravel or crushed rock ensures your paving stays stable and prevents water pooling.
Concrete Slab
A concrete slab is the ideal substrate for any crazy paving installation, particularly for driveways and high-traffic areas. It provides a solid, stable base that minimises movement over time, helping to prevent cracking, sinking, or loose stones. Compared to a gravel or crushed rock base, a concrete slab offers superior durability and longevity, especially under heavy loads such as vehicles.
For best results, the slab should be properly cured, clean, and slightly sloped to allow for effective water drainage. While a gravel base can be suitable for smaller or less demanding projects, a concrete foundation is strongly recommended if you’re looking for a long-lasting, professional finish. For larger or more complex installations, consulting a professional is always advised.
Sand
- Sharp sand for levelling the stone bed
- Fine sand for filling joints between the stones
Concrete or Mortar (Optional)
For a permanent installation, a wet-fix with concrete or mortar can secure your stones and reduce movement over time.
Polymeric Sand (Optional)
This modern alternative locks joints and stops weed growth, giving a long-lasting, clean finish.
Edging Materials
Keep your paving contained with steel, plastic, or timber edging for a neat, professional look.
Weed Barrier Fabric (Optional)
Protect your base layers from weeds with a durable landscaping fabric, especially for high-maintenance gardens.
| Item | Purpose | Selection Tips |
| Natural Stone Crazy Pavers or Slabs | Main surface | Bluestone, Limestone, Quartz, Sandstone, Granite, or Slate. |
| Gravel / Crushed Rock | Foundation & Drainage | Use MOT Type 1 or “Road Base” for stability. |
| Fine Sand | Joint Filling | Fills the “puzzle gaps” between slabs. |
| Concrete / Mortar | Permanent Fix | (Optional) Best for high-traffic or “wet-fix” areas. |
| Polymeric Sand | Joint Locking | (Optional) Hardens to block weeds and ants. |
| Edging Materials | Structural Frame | Steel, timber, or plastic to hold the shape. |
| Weed Fabric | Protection | (Optional) Prevents sub-layer contamination. |
Essential Tools for DIY Crazy Paving
Successfully installing DIY crazy paving requires the right combination of tools for preparation, cutting, and finishing. Using proper natural stone paving tools makes your project safer, faster, and more precise.
Heavy Lifting and Site Preparation Tools
- Shovel & Wheelbarrow: Ideal for digging, moving gravel, sand, and natural stone slabs during your DIY paving installation.
- Tape Measure, String & Stakes: Accurately mark paving boundaries and ensure a consistent slope for effective water drainage.
Spirit Level: Keep stones level while maintaining a slight fall for proper drainage. - Rubber Mallet: Gently set paving stones into place without damaging the natural stone surface.
- Broom: Sweep sand into the joints to secure stones and create a polished finish.
- Garden Hose: Settle the base layer and activate polymeric sand for long-lasting results.
Precision and Stone Cutting Tools
- Angle Grinder with Diamond Blade: Trim natural stone slabs for perfect fits in your crazy paving layout.
- Trowel or Pointing Tool: Essential for mortar-based installations to achieve smooth, professional joints.
- Stone Cutter or Chisel: Create natural-looking edges and custom shapes for authentic DIY paving designs.
Safety and Comfort Gear
- Safety Glasses & Heavy-Duty Gloves: Protect your eyes and hands when cutting, chiselling, or handling rough stone.
- Rubber Gloves: Prevent skin irritation when working with wet mortar or concrete.
- Kneeling Pad: Provides comfort and support during long paving sessions, keeping knees safe.
| Category | Tool | Primary Purpose |
| Site Prep | Shovel & Wheelbarrow | Excavating the area and moving heavy stone/gravel. |
| Layout | Tape, String & Stakes | Marking boundaries and setting the “fall” for drainage. |
| Placement | Rubber Mallet | Bedding stones into the sand without cracking them. |
| Leveling | Spirit Level | Ensuring a flat surface (with a slight slope for water). |
| Cutting | Angle Grinder / Chisel | Trimming and shaping stones for a tighter “puzzle” fit. |
| Finishing | Broom & Pointing Tool | Sweeping in joint sand or smoothing out mortar joints. |
| Cleanup | Garden Hose | Settling the base layer and cleaning stone faces. |
| Safety | Glasses & Heavy Gloves | Protecting eyes from stone chips and hands from cuts. |
| Comfort | Kneeling Pad | Reducing strain during long hours on the ground. |
Step 1: Prepare the Ground for Crazy Paving
What this step is: Ground preparation sets the foundation for your paving. A stable and well-drained base is crucial to prevent future stone movement or uneven surfaces.
First, mark out your paving area using stakes and string to define the shape and boundaries of your project. Then, excavate the site to remove grass, roots, and debris. For pedestrian areas, dig 100–150mm deep; for driveways or heavy-traffic areas, dig 150–200mm. Make sure to maintain a gentle slope of 1–2% away from buildings for proper water drainage. Once excavated, compact the soil and lay a gravel or crushed rock base in 50mm layers, tamping each layer for stability. Proper compaction ensures a strong foundation for your crazy paving stones.
Step 2: Lay a Level Sand Bed
What this step is: The sand bed provides a smooth, adjustable surface for your stones and helps with drainage.
Spread a 30–50mm layer of sharp sand over the compacted gravel base. Use a rake to distribute the sand evenly and then lightly compact it using a rubber mallet or wooden board. Regularly check the slope with a spirit level to ensure water will flow away from buildings. A properly levelled sand bed prevents stones from rocking or settling unevenly over time, which is crucial for the longevity and safety of your paving.
Step 3: Plan Your Crazy Paving Layout
What this step is: Planning the layout ensures a visually appealing and practical arrangement before stones are permanently fixed.
Place your natural stones loosely on the sand bed to experiment with their arrangement. Crazy paving works like a jigsaw puzzle, mixing stone sizes, colours, and textures creates a natural, organic look.
Take your time to adjust the layout for balance, avoiding clumps of similar stones. Some stones will need trimming or shaping to fit naturally. Use your angle grinder, chisel, or stone cutter for precise adjustments. Planning your layout first saves time later and ensures a professional finish.
Step 4: Place the Natural Stone Crazy Pavers or Broken Slabs
What this step is: Setting the stones in place is where your design begins to take shape. Proper placement ensures stability and level surfaces.
Place each stone carefully into the sand bed, pressing it down firmly and tapping gently with a rubber mallet. Regularly check each stone with a spirit level to maintain a flat surface while keeping the slope for drainage. Leave consistent gaps of 5–15mm between stones to allow for joint filling. Careful placement at this stage ensures your crazy paving is stable, level, and visually cohesive, preventing stones from shifting over time.
Step 5: Fill the Joints Between Stones
What this step is: Filling the joints secures the stones, prevents movement, and creates a finished look.
Sweep fine sand into the gaps between the stones using a soft broom. Tap stones gently to settle them and repeat the process until joints are completely filled. If using polymeric sand, lightly mist with water to activate its binding properties, which locks the joints and prevents weeds. Alternatively, for a wet-fix installation, fill the joints with mortar and smooth with a pointing tool. Properly filled joints not only enhance the look but also increase the durability of your paving.
Step 6: Install Edging Around the Paving
What this step is: Edging keeps your paving intact and prevents stones from spreading over time.
Place steel, timber, or plastic edging around the perimeter of your paving. Make sure it is level and anchored securely. Backfill outside the edging with soil or gravel to stabilise it and create a clean boundary. Installing edging ensures your crazy paving maintains its shape, adds a professional touch, and helps protect surrounding landscaping.
Step 7: Clean, Seal, and Maintain Your Crazy Paving
What this step is: Cleaning, sealing, and maintenance preserve your paving’s appearance and longevity.
Rinse the paving with a garden hose to remove excess sand and dust. Walk over the stones to check for any loose pieces and adjust as needed. For natural stones like bluestone, sandstone, or limestone, apply a penetrating sealant to enhance colour, protect against stains, and reduce moss or algae growth. Regular maintenance includes sweeping sand into joints annually, removing weeds, and resealing every few years. These steps ensure your crazy paving continues to look great and lasts for decades.
Pro Tips for a Professional-Looking DIY Crazy Paving
Even with the best materials and tools, small techniques can make a huge difference in how your crazy paving looks and performs. Follow these tips to achieve a professional finish.
Another tip – pull out all your pieces to understand how many large, medium or small pieces you have to get an equal balance of each in the lay.
1. Work from the Centre Outward for Balanced Patterns
When laying your stones, start from the centre of your designated area and work outward toward the edges. This approach ensures that your paving feels symmetrical and naturally balanced. If you begin at the edges, you might end up with awkward, half-sized stones at the centre that disrupt the visual flow.
By starting in the middle, you can place larger, more prominent stones first and then fill the surrounding gaps with smaller pieces, creating a cohesive, “puzzle-like” design.
2. Step Back Frequently to View the Layout from Different Angles
As you place each stone, take a few steps back regularly to review the overall layout. Crazy paving is irregular by design, and what looks good up close may appear uneven or unbalanced from a distance. Viewing your paving from different angles helps you spot gaps, colour clusters, or stones that need adjustment. This simple habit prevents mistakes and ensures the finished paving looks polished and intentional rather than haphazard.
3. Mix Textures and Colours for an Organic Look
Part of the charm of crazy paving is its natural, organic aesthetic. Avoid placing stones of the same colour, shape, or texture together. Instead, alternate smooth and rough surfaces, dark and light shades, and different stone sizes. Mixing textures and colours not only enhances the visual appeal but also mimics how natural stone would appear in a landscape, giving your paving a timeless, handcrafted feel.
4. Always Wear Safety Gear When Cutting or Chiselling Stones
Working with natural stone involves sharp tools and heavy materials. Always wear safety glasses to protect your eyes from flying chips, heavy-duty gloves to prevent cuts and abrasions, and a dust mask if cutting dry stone that creates dust.
Protective footwear and a kneeling pad can also prevent injuries and discomfort. Safety gear ensures your DIY project stays fun and injury-free, allowing you to focus on creating a stunning outdoor space.
DIY Crazy Paving: Frequently Asked Questions (FAQs)
Installing crazy paving for a driveway or walkway starts with proper preparation. First, excavate the area and create a stable base using compacted crushed rock. Add a layer of sand or mortar, then carefully place your natural stone pieces like a puzzle, leaving consistent gaps. Once positioned, secure the stones with mortar or jointing compound, and finish by sealing the surface for durability and longevity.
We hope this guide has been helpful! If you have any further questions about crazy paving stones, please contact us, we’ll help you choose the best natural stone for your project.
How do I choose a bluestone crazy paving pattern for a small backyard?
For a small backyard, choose a bluestone crazy paving pattern that uses medium to small-sized stones and irregular shapes. Mix colours and textures to create visual interest, and plan the layout carefully to make the space feel open and balanced.
What are the advantages and disadvantages of crazy paving?
Advantages:
- Unique, natural, and visually appealing look
- Flexible layout that fits any space or shape
- Durable when installed on a proper base
- Allows for good drainage between stones
Disadvantages:
- Can be more time-consuming to install than regular pavers
- Irregular gaps may need frequent joint maintenance
- Cutting and fitting stones requires skill and the right tools
- Slippery when wet if not textured properly