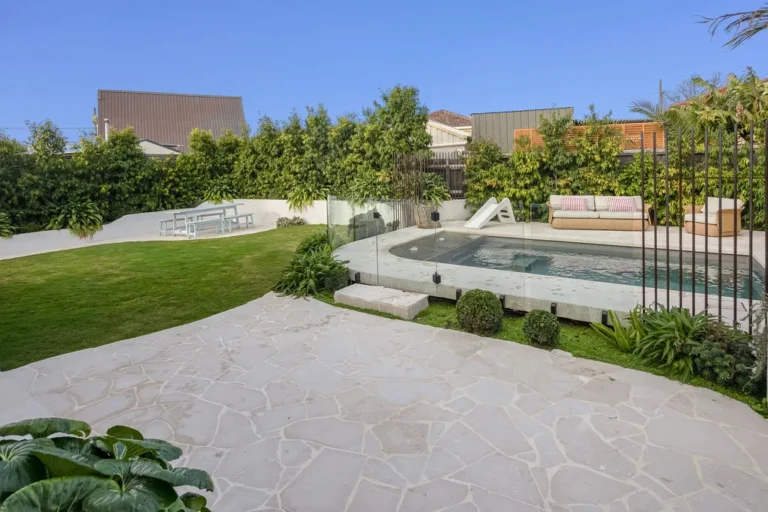
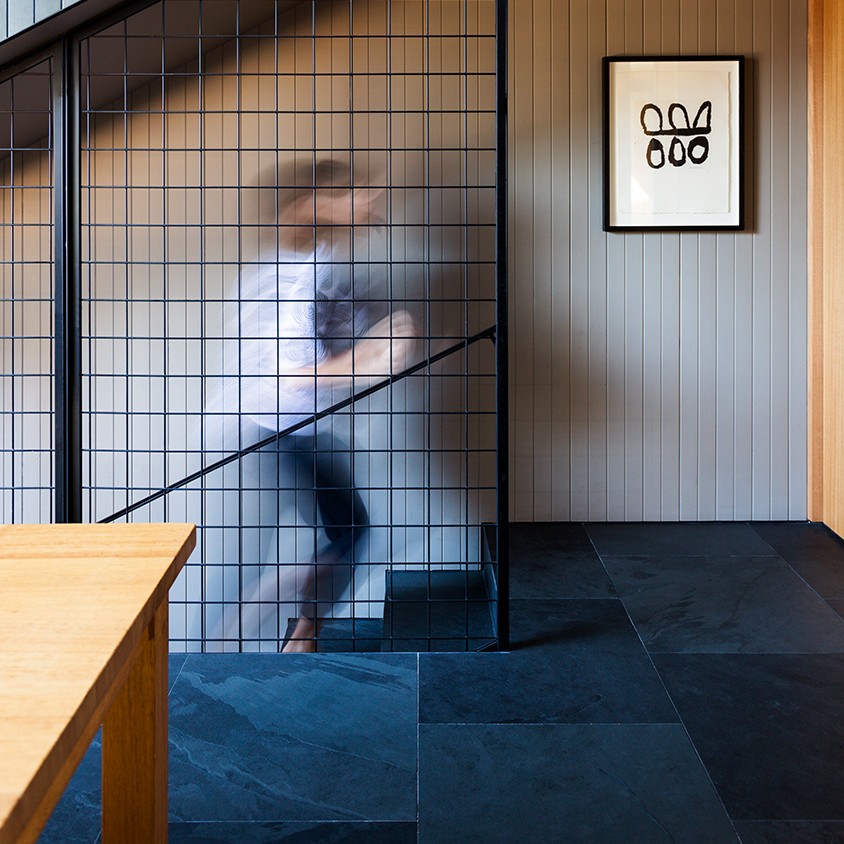
Slate lasts longest when it’s laid on a solid, well-drained base. For patios, alfresco areas and indoor floors, that means a concrete slab and a flexible cement-based adhesive with full coverage under every piece. For garden paths, you can use a compacted crushed rock base with a mortar bed. Leave joints of 5–10 mm, grout once the adhesive has cured, then seal.
This guide covers both outdoor and indoor installs, grouting, and working out how much slate you need.
Slate is a natural stone, formed through natural geological processes and commonly used for flooring, wall cladding, paving and other architectural applications.
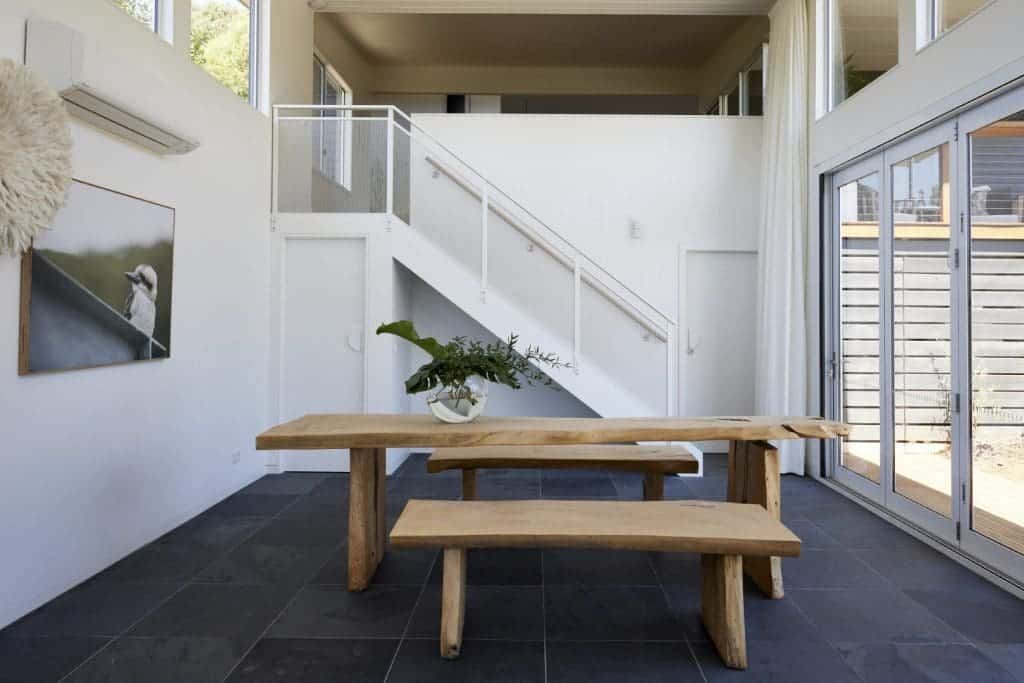
1. Understanding Calibrated vs Uncalibrated Slate
Slate splits naturally along its layers, which gives it that textured, cleft surface. It’s sold two ways, and which one you buy changes how you lay it:
Calibrated:
The back is ground so every piece is the same thickness. It sits flat on a standard notched-trowel adhesive bed and lays quickly.
Uncalibrated:
Thickness varies from piece to piece. You’ll need a thicker adhesive bed and have to bed each piece down to level. Allow more time.
Check thickness on the product page too. Slate under about 30 mm thick should always go on concrete or a mortar bed. On loose sand, it can crack under point loads like furniture legs or wheelbarrows.
Tools you’ll need: wet saw or angle grinder with a diamond blade, notched trowel, rubber mallet, spirit level and string line, spacers, grout float, sponges and buckets.
2. How much slate do you need per m²?
Divide 1 by the area of one tile in square metres:
Tiles per m² = 1 ÷ (length × width in metres)
Example: 600 × 400 mm = 0.24 m², so 1 ÷ 0.24 = 4.2 tiles per m²
Measure the whole area in m², then add a wastage allowance for cuts and breakages:
- 10% for pavers and tiles in a straight layout
- 15% for herringbone, diagonal layouts or lots of edges
- 15% for crazy paving, where you shape pieces to fit
Order everything at once. Slate varies in colour between batches, so topping up later can leave a visible patch. See stone and tile layouts for pattern options.
Slate is natural, so every batch varies a little. Check a sample in your own light.
3. Plan and prepare the area
Most problems with slate start before the first paver goes down. Work through this checklist before you mix any adhesive:
- Measure and mark out. Measure the area, add your cutting allowance, and mark the edges with string lines or chalk.
- Check drainage and fall. Outdoor areas need a fall of around 1:100 away from the house, towards a drain or garden edge. Water should never pool against walls.
- Check the substrate. The slab or base must be sound, cured and free of cracks, movement or loose patches. Fix these first. Tiling won’t hide them.
- Work out the finished height. Add slate thickness, adhesive bed and any levelling layer. Make sure the result sits below the damp course and doesn’t block weep holes.
- Check thresholds, drains and steps. Confirm doors will still open, floor wastes and grates sit flush, and step heights stay even and compliant.
- Order enough from one batch. Order the full quantity, cutting allowance included, at the same time. Slate varies between batches, and topping up later can mean a visible colour change.
- Let materials acclimatise. Where the manufacturer recommends it, store slate and adhesive on site, out of direct sun and rain, before you start.
- Read the manufacturer’s instructions. Check the requirements for your adhesive, grout, sealer and any waterproofing membrane. They set mixing ratios, trowel size, open time and cure times.

4. Outdoors: laying slate paving on concrete
This is the most durable way to lay slate pavers for patios, alfresco areas, pool surrounds and anywhere with regular foot traffic.
Step 1: Check the slab
The slab should be cured, clean and sound, with a fall of around 1:100 so water drains away from the house. Grind off high spots and fill hollows. Remove paint, oil and curing compounds, because adhesive won’t grip them.
Step 2: Dry lay and set out
Lay the pavers out loose first. Mix pieces from several crates so colour variation spreads evenly. Snap a string line from your straightest edge and plan cuts so they fall at the edges, never in the middle of the area.
Step 3: Spread adhesive
Use a flexible, cement-based exterior adhesive. Spread it with a 10–12 mm notched trowel over about 1 m² at a time. Outdoors, aim for full coverage: back-butter each paver as well as the slab, so no hollow pockets are left to hold water.
Step 4: Bed each paver
Press each paver in with a slight twist and tap it level with a rubber mallet. Use spacers for joints of 5–10 mm. With uncalibrated slate, add or remove adhesive under each piece so the surface stays even. Check level every few pavers.
Step 5: Leave room for movement
Leave a gap around the perimeter against walls and steps. On larger areas, add flexible movement joints roughly every 4.5 m. Victoria’s temperature swings move both stone and slab, and without these joints pavers can crack or lift.
Step 6: Clean and cure
Wipe adhesive off the face straight away. Once it dries in slate’s textured surface it’s very hard to remove. Keep foot traffic off for at least 24 hours before grouting.
Slate for outdoor paving:
You’ll also need an exterior tile adhesive: browse our adhesives.
5. Outdoors: How to Lay a Slate Path or Walkway
If you’re creating a garden path without an existing slab, you’ll need to prepare a stable base before laying the slate:
- Mark and excavate. Mark out the path and excavate to around 150 mm, allowing enough depth for the base, bedding and slate. Create a slight fall to direct water away from the path.
- Install edge restraints. Use timber, steel or concrete edging to keep the path in place and prevent it from spreading over time.
- Prepare the base. Add 75–100 mm of crushed rock and compact it in layers using a plate compactor until the base is firm and level.
- Lay the slate. Place the slate pavers on a 25–30 mm mortar bed, using approximately four parts sand to one part cement. Tap each piece into position and check the levels as you work.
- Finish the joints. Once the slate has set, fill the joints with suitable grout or jointing mortar, then apply a suitable sealer if required.
For a more natural, irregular finish, Jakarana slate crazy paving can be laid over the same type of prepared base, with wider 10–20 mm joints between the individual pieces. For borders and driveway edges, black slate cobblestones provide a durable option for areas exposed to heavier loads.
6. How to Grout a Slate Patio
Grouting slate requires a little more care than grouting smooth tiles. The natural cleft surface of slate can trap grout during installation, leaving a stubborn grey or white haze that can be difficult to remove. Proper preparation and cleaning as you work can help achieve a cleaner finish.
- Pre-seal the slate. Before grouting, apply a suitable penetrating sealer designed for natural stone. This helps reduce grout absorption and makes the surface easier to clean during installation.
- Choose the right grout. For an exterior slate patio, use a suitable exterior-grade cement grout. Sanded grout is generally suitable for joints wider than 3 mm, but always follow the manufacturer’s recommendations for the product and joint width.
- Work in small sections. Mix the grout according to the manufacturer’s instructions and apply it to manageable sections. Use a rubber grout float held at approximately 45° to work the grout firmly into the joints, removing excess from the slate as you go.
- Clean as you go. Don’t allow excess grout to dry on the slate surface. After around 15–20 minutes, or according to the grout manufacturer’s instructions, wipe the surface with a barely damp sponge. Rinse the sponge frequently and avoid using too much water, as this can affect the curing process.
- Allow the grout to cure. Leave the patio undisturbed for the recommended curing period. Once cured, check the surface for any remaining grout haze and use a suitable natural-stone-safe cleaner if necessary. Avoid acidic cleaners unless the manufacturer confirms they are safe for your particular slate.
- Apply a final sealer. Once the slate and grout are fully cured and the surface is clean and dry, apply a suitable penetrating sealer if recommended for your slate. This can provide additional protection against moisture, staining and everyday outdoor use.
Protect your slate from day one with suitable stone sealers for pre-sealing and final protection, and stone cleaners for ongoing maintenance and grout-haze removal.
7. Indoor Slate Tile Installation
Indoor slate installation mirrors outdoor techniques, but internal conditions require a few specific adjustments:
Substrate Preparation:
Concrete slabs are ideal. For timber subfloors, install a compressed fibre cement (CFC) sheet underlay first to eliminate floor flex and prevent the stone from cracking.
Waterproofing (Wet Areas):
Bathrooms and laundries require a waterproofing membrane compliant with AS 3740, installed by a licensed waterproofer before tiling.
Grout Joints:
Calibrated indoor slate allows for tighter 3–5 mm grout joints, creating a cleaner, more refined interior aesthetic.
Lippage Control:
Run your hand across tile edges during placement. Low indoor raking light makes subtle height differences far more visible than natural outdoor light.
Overlaying Existing Tiles:
Tiling over an old floor is possible only if the existing surface is undamaged, flat, and securely bonded.
Sealing:
Apply sealer after grouting to protect against oil, wine, and food spills, especially in kitchen areas.
Refer to our complete tile installation guide for detailed substrate preparation steps, or check individual product specification sheets for technical data.
8. What about slate chippings?
Slate chippings are loose, decorative aggregate for garden beds and informal paths, not paving. To lay them, clear and level the ground, lay weed-control fabric, fit an edge to contain them, then spread chippings about 50 mm deep. For a firm, easy-to-clean surface you can walk on every day, pavers or crazy paving on a proper base will last far longer.
FAQ
Can you lay slate tiles directly on concrete?
Yes. A clean, cured concrete slab with a flexible cement-based adhesive is the best base for slate, indoors and out.
Can you lay slate pavers on sand?
Only thick slate (30 mm or more) for light garden use. Thinner slate should go on a mortar bed or concrete so it doesn’t crack.
What size gap should I leave between slate pavers?
5–10 mm for pavers outdoors, 3–5 mm for calibrated tiles indoors, and 10–20 mm for crazy paving.
Should I seal slate before or after grouting?
Both. A pre-seal stops grout from staining the textured surface, and a final seal after grouting protects the finished floor.
| Planning a slate project? See slate in person at our Richmond, Hoppers Crossing or Geelong showrooms, and talk through base, layout and quantities with our team. |